Pumpkin Cake with Cinnamon Cream Cheese Frosting

Autumn has arrived! We’re getting some much-needed rain here in California, plus I got my Moderna booster shot yesterday, so it’s turning out to be a great day to just lay low and stay inside. Which means I get to catch up on posting some of these recipes, since I haven’t posted anything since… January. Whoops!

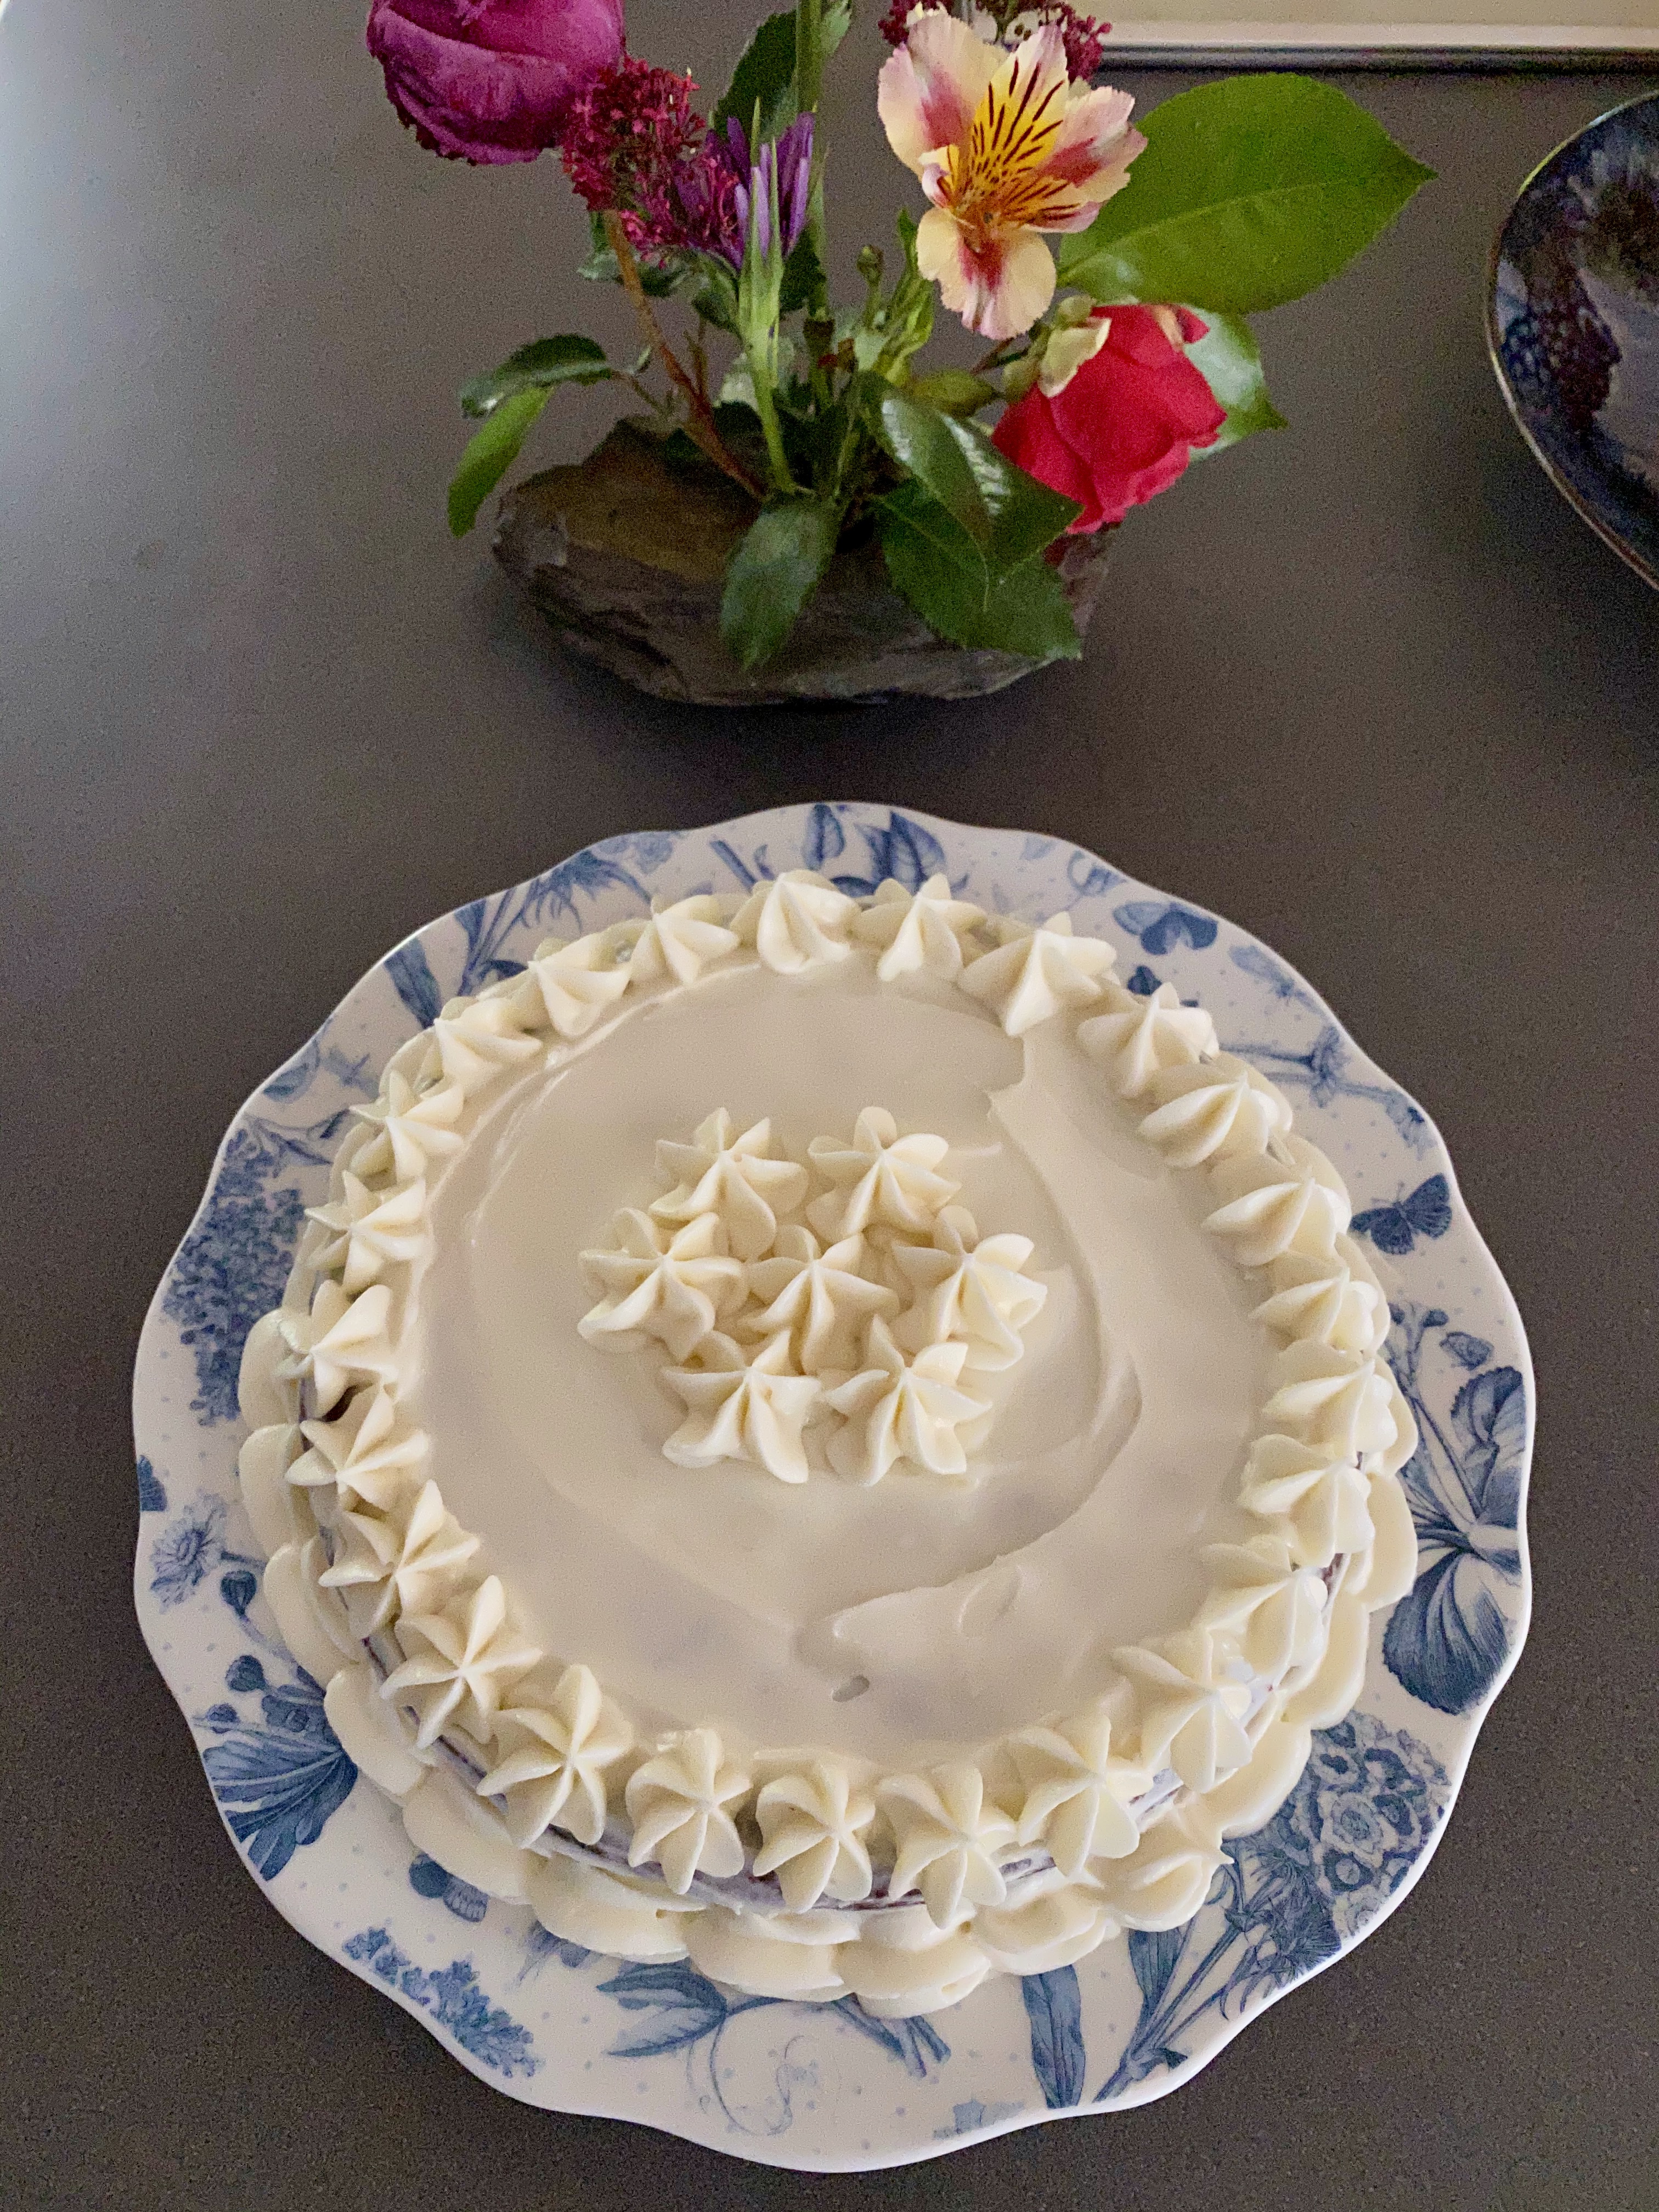
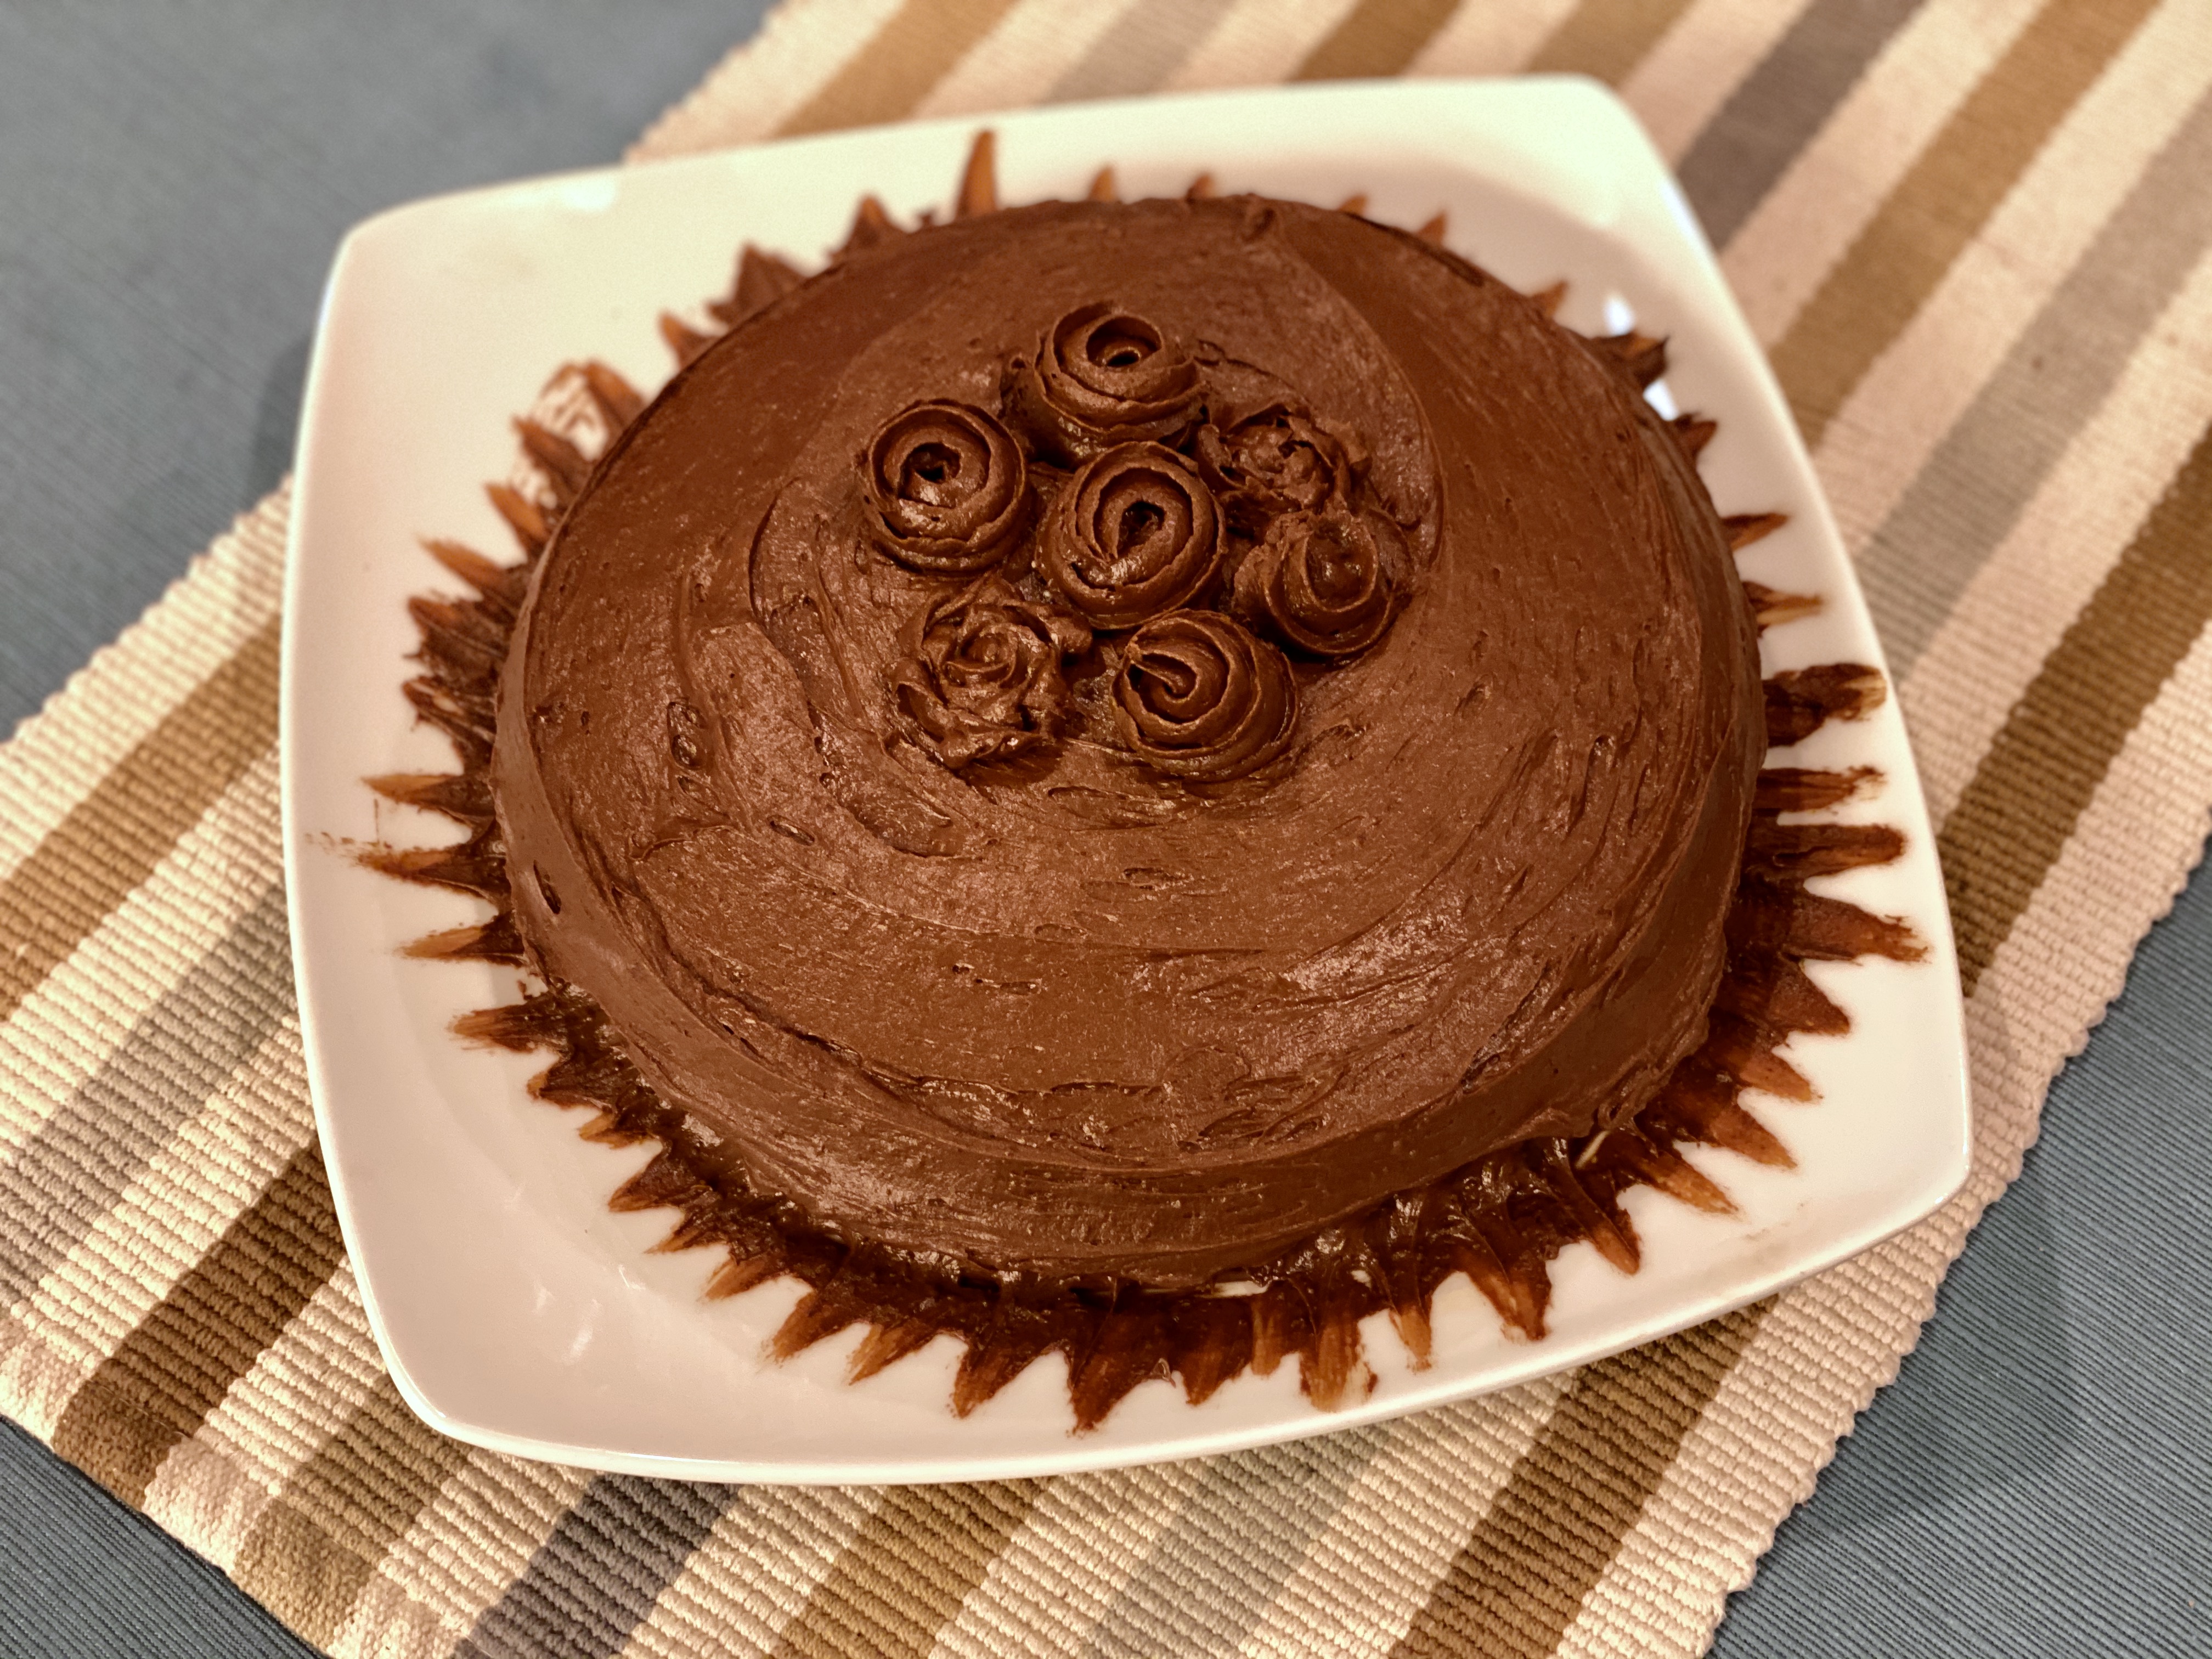
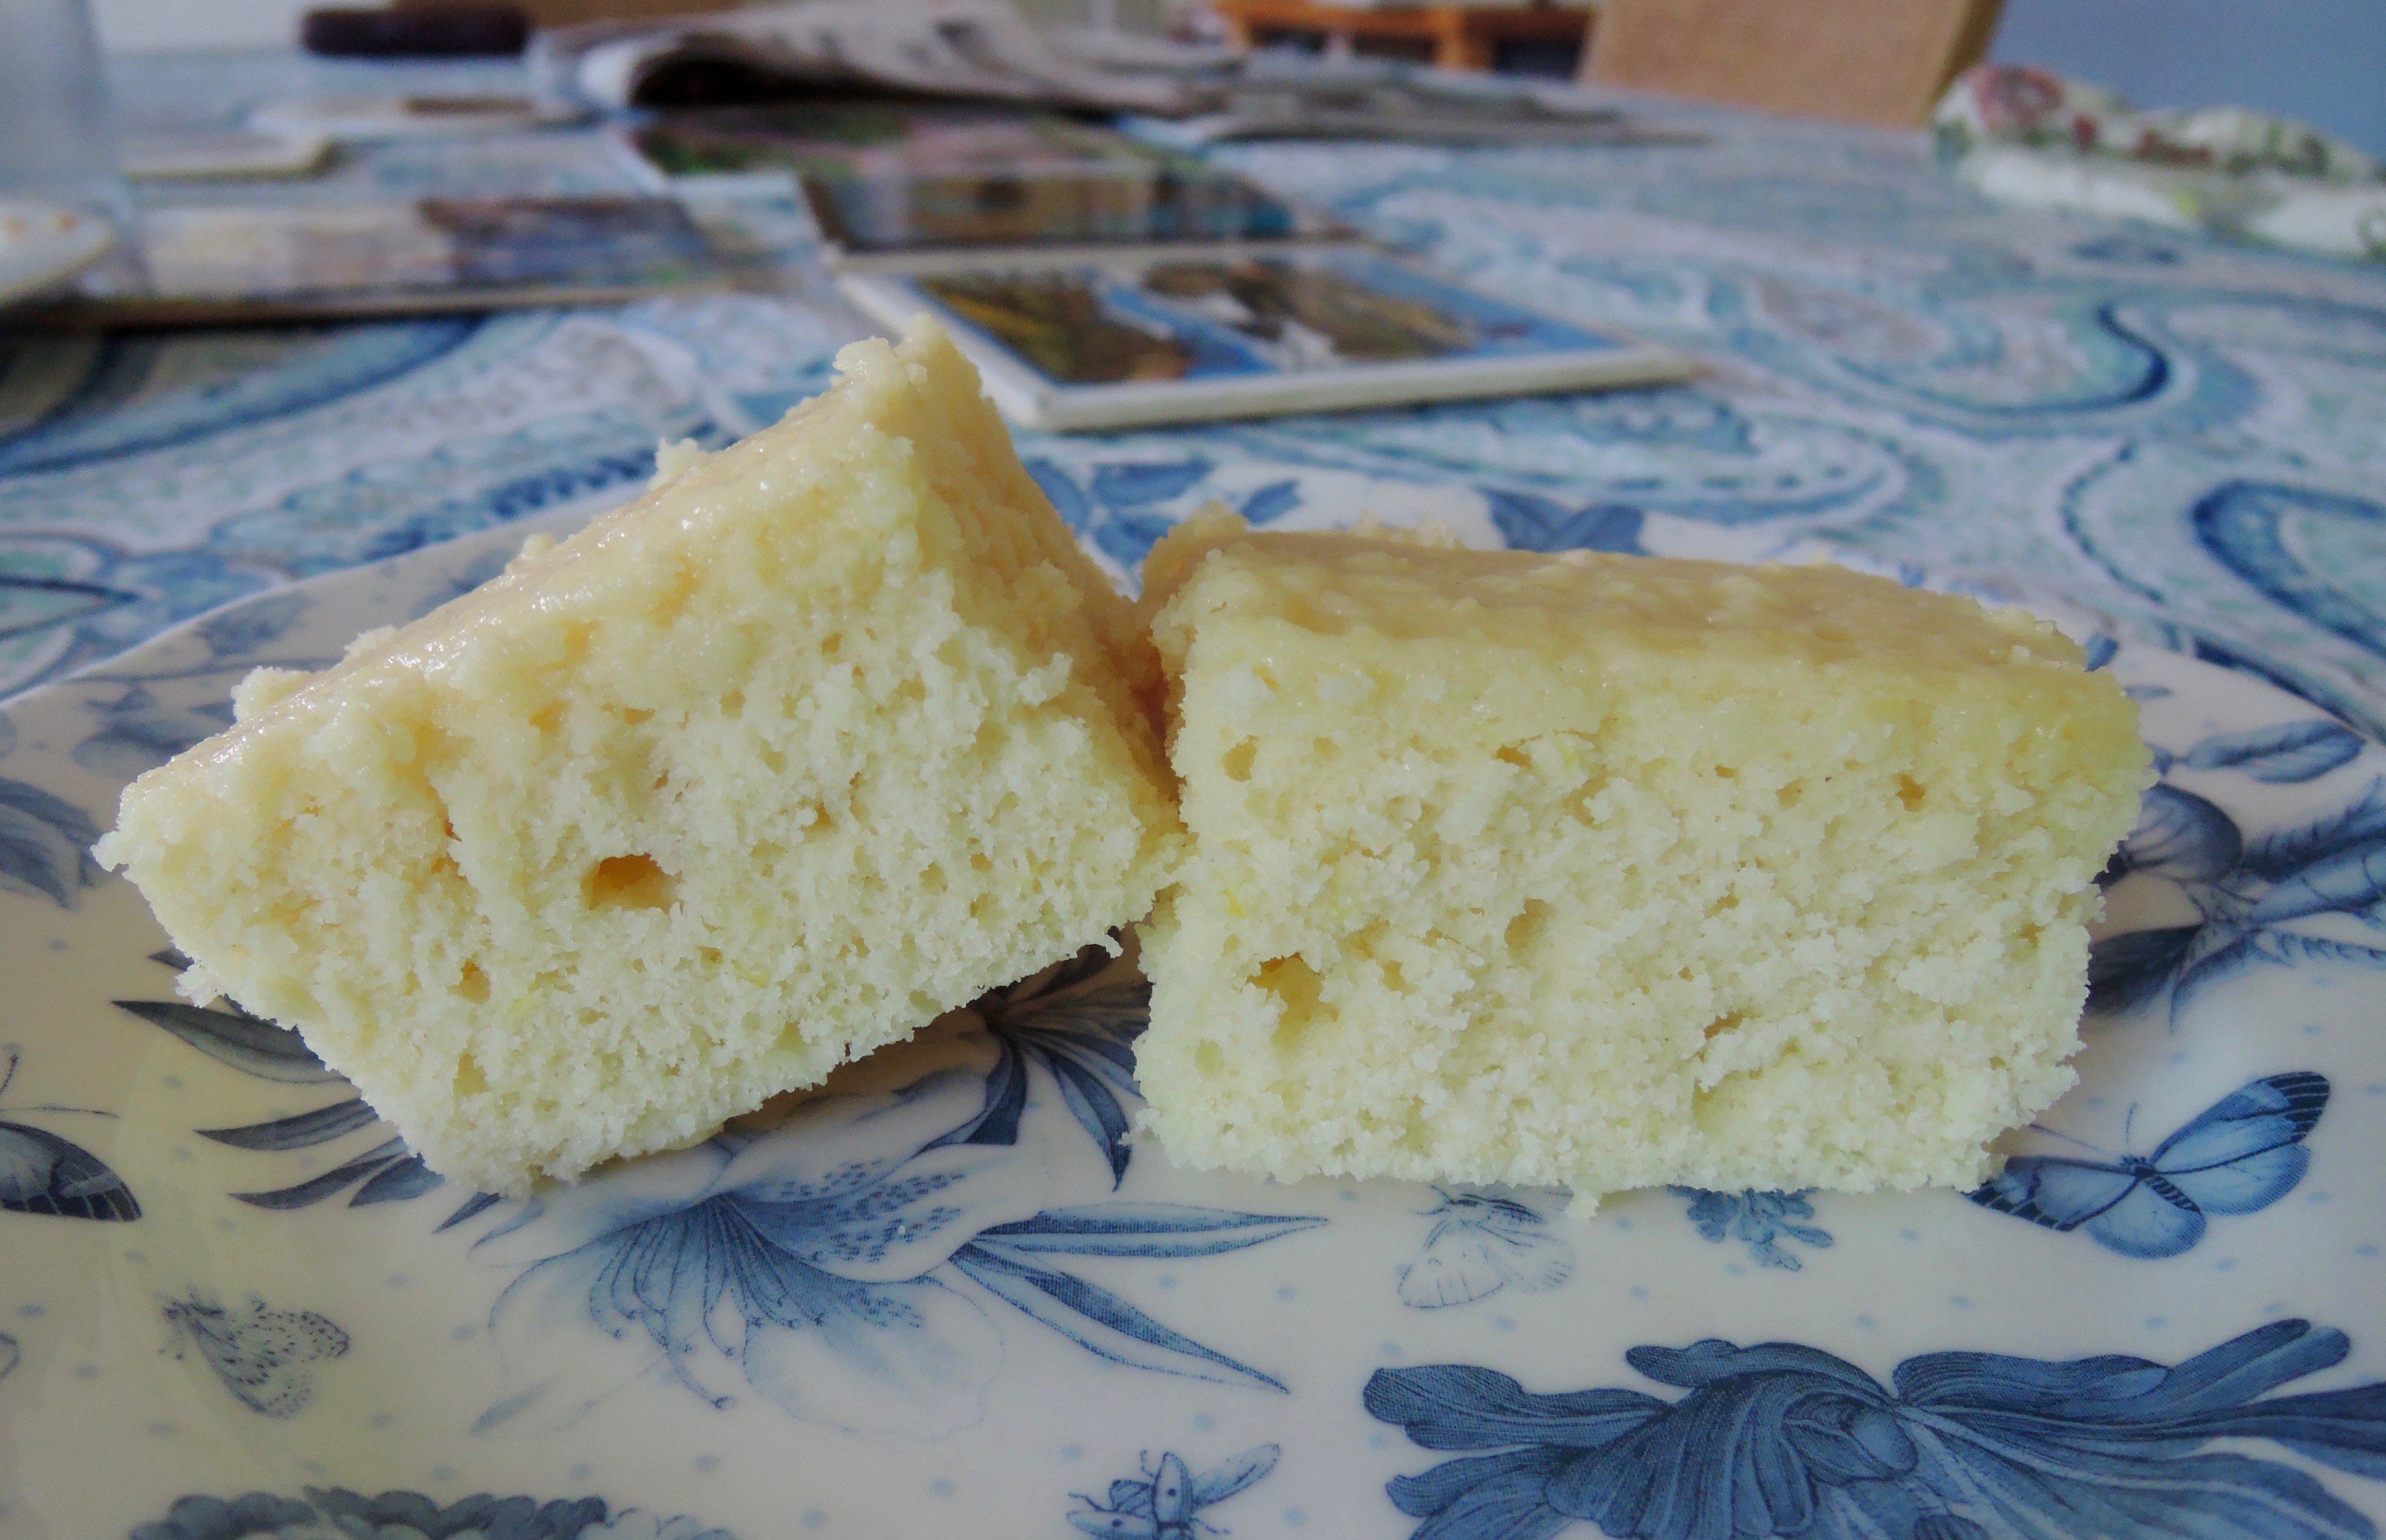
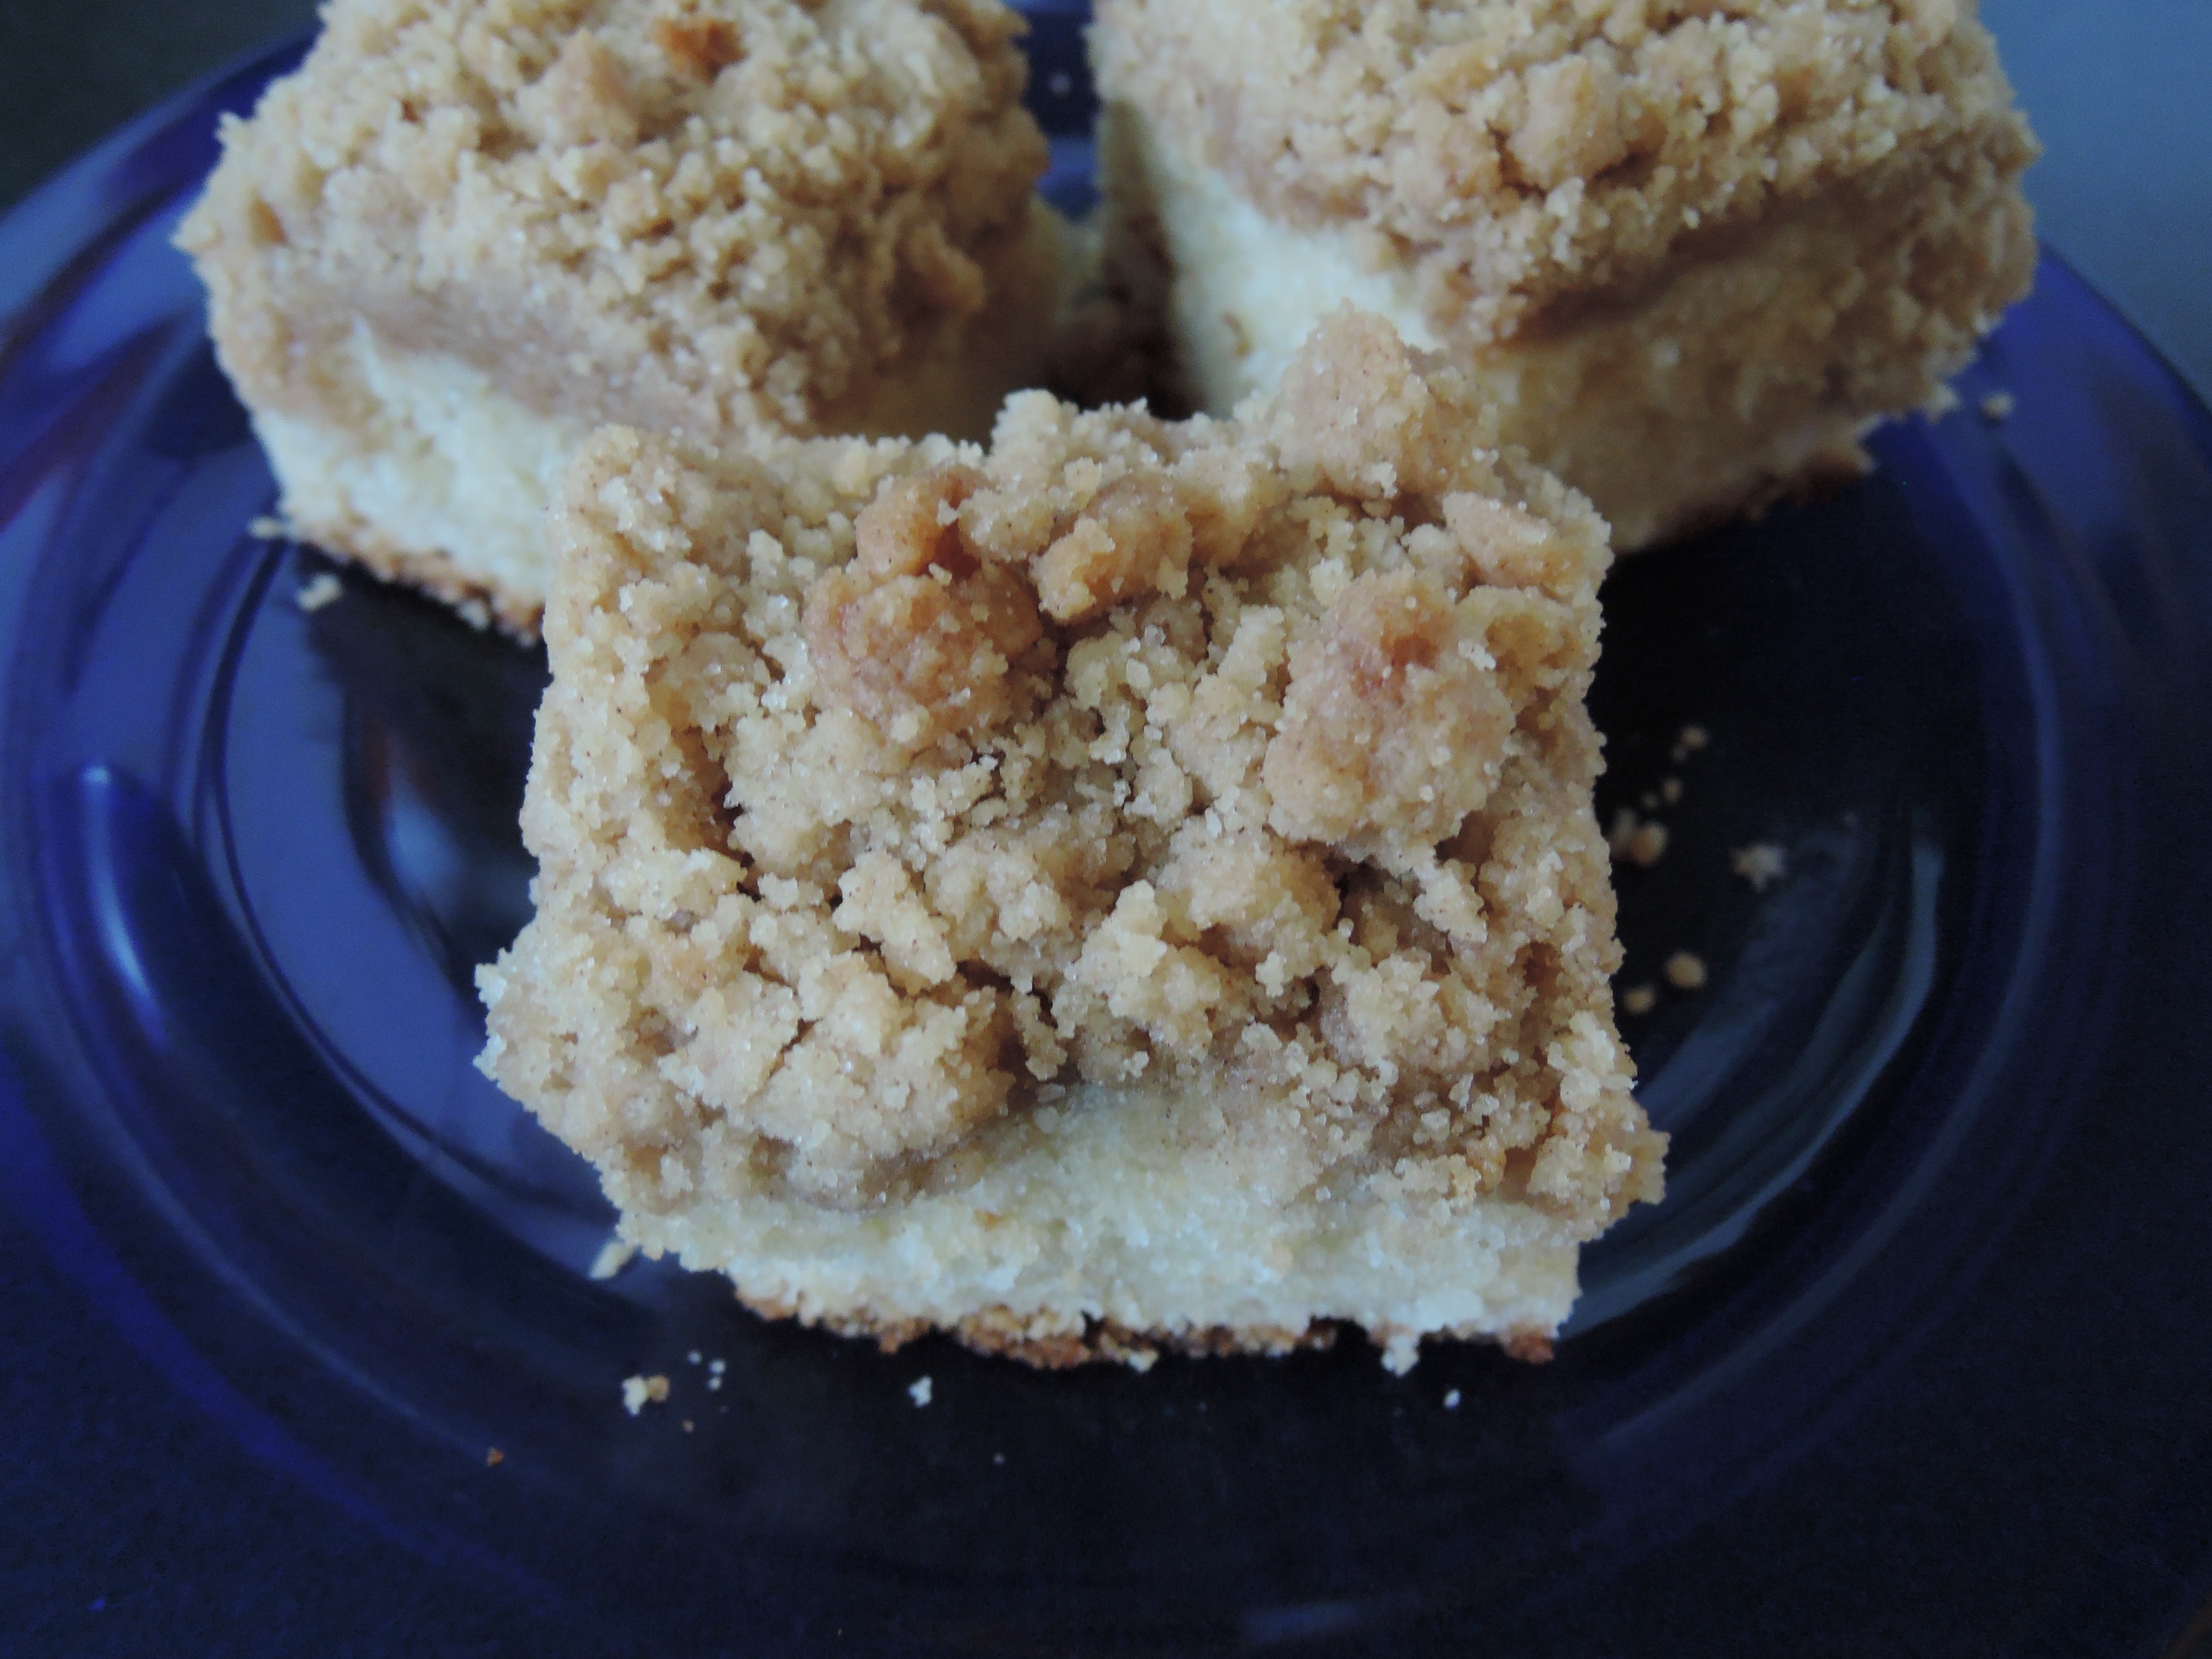
I made this recipe for a pumpkin carving get-together for my friend’s birthday a couple weeks ago, and I was extremely pleased with how it turned out! The pumpkin cakes are moist, tender, and full of pumpkin and spice flavor. The cream cheese frosting was delicious and also had cinnamon in it, which just kicked up the flavor another notch. I even used light cream cheese and couldn’t tell any difference (probably because of all the sugar haha), so I could at least pretend it was a slightly healthier option. I found this cake over at The Novice Chef Blog and made just a few adjustments to it, of course increasing the spices as usual. One of my favorite things I learned from watching the Great British Bake Off was to listen to cakes to tell if they’re done, when you don’t hear too much bubbling inside. I tried out that trick on this cake, listened for minimal bubbling, confirmed my judgment with the standard toothpick test, and the cakes were beautifully baked! Also because of GBBO, I’ve started using a kitchen scale to weigh out ingredients, so I included the measurements I used in the ingredient list here. Definitely give this cake a try for fall gatherings! I’m sure I’ll be making it again in the future.

Pumpkin Cake with Cinnamon Cream Cheese Frosting

Makes one 3-layer 8-inch round cake

Adapted from The Novice Chef Blog

Ingredients:

Cake

3 cups (380g) all purpose flour

1 tbsp ground cinnamon

1/2 tsp ground nutmeg

1/2 tsp ground cloves

2 tsp ground ginger

1/2 tsp ground allspice

1 1/2 tsp baking soda

1/2 tsp salt

3/4 cup unsalted butter, softened

2 cups (400g) granulated sugar

3 large eggs

1 tbsp vanilla extract

1 (15 oz) can of canned pumpkin

1/4 cup (54g) vegetable oil

1 cup (240g) milk (I used original flavor soymilk)

Cinnamon Cream Cheese Frosting

12 oz cream cheese, softened (I used light)

3/4 cup unsalted butter, softened

3 tbsp (60g) maple syrup

2 tsp vanilla extract

2 tsp ground cinnamon

6-6 1/2 cups powdered sugar (or to desired consistency)

Directions:

Preheat the oven to 300˚F and grease three 8-inch round cake pans.

Sift together the flour, spices, baking soda, and salt in a medium bowl.

In a large bowl or the bowl of your stand mixer, cream the butter and sugar together until light and fluffy, a couple minutes. Add the eggs and vanilla and beat together until well combined, a minute or so on medium speed if using a stand mixer.

Beat in the pumpkin and vegetable oil until well combined. Add half the flour mixture, stir gently, then add half the milk, and stir until it starts to combine. Repeat with the second half of the flour mixture and milk, and stir until well combined, a minute or two on low-medium speed if using a stand mixer.

Divide the batter evenly into prepared pans. Bake for 33-36 minutes, or until a toothpick inserted in the center of each cake comes out clean (or you hear minimal bubbling if you listen to the cakes).

Remove the cakes from the oven and allow to cool on racks for about half an hour to an hour.

While the cakes are cooling, make the frosting by creaming together the butter and cream cheese until smooth in a large bowl (I used a stand mixer for this). Beat in the maple syrup, vanilla, and cinnamon. Add in the powdered sugar and stir on low speed until well combined, then increase the stand mixer speed to high until the frosting is smooth and fluffy. Add more sugar to achieve your desired consistency as needed.

Assemble the cakes, spread a thick layer of frosting between each layer. Spread a thin layer of frosting around the sides and on the top of the cake as a crumb coat, then spread a thick and even layer of frosting on the entire outside and top of the cake. Decorate as desired.

Store in the refrigerator until ready to serve. This cake will keep in the fridge for up to one week (although ours did not last that long). Enjoy!

Print

Best Carrot Cake with Cream Cheese Frosting

So here I am, still on a carrot kick this spring while sheltering in place. I made a half recipe of this carrot cake a couple weeks ago, and compared it with a half recipe of the Super Moist Carrot Cake which I posted about in the first year of this blog. My parents and I agreed that we actually like this one from Live Well Bake Often better, so here it is!

This cake doesn’t really have a carrot flavor, but the carrot adds moisture to the cake. I also added raisins to it, which add little bursts of sweetness throughout the cake, but you can leave them out if you don’t like raisins. I actually made a half recipe of the super moist carrot cake this past weekend for Easter, which was also delicious, but not as good as this one. This cake also baked through much more evenly than the “super moist” one, which got overbaked on the outside and remained underbaked in the middle, so that was another check mark in the winning column for this cake. I halved the recipe, since I still don’t have my normal outlet of bringing it to work where baked goods magically disappear, so here’s the recipe halved!

Best Carrot Cake with Cream Cheese Frosting

Adapted from Live Well Bake Often

Makes 1 9-inch round cake

Ingredients

Cake:

1 cup all-purpose flour

1 tsp baking soda

1/2 tsp salt

1 1/2 tsp cinnamon

1 tsp ginger

1/2 tsp nutmeg

1/2 tsp cloves

1/2 tsp allspice

90 ml (3/8 cup) canola oil

2 large eggs

1/4 cup granulated sugar

3/4 cup brown sugar

1/2 cup plain applesauce

1 tsp vanilla extract

1 1/2 cups (150g) freshly grated carrots (about 1.5-2 medium carrots, or 1 large)

1/3 cup raisins (optional)

Frosting:

4 oz cream cheese, room temperature

1/4 cup (1/2 stick) unsalted butter, softened

1/2 tsp vanilla extract

1-1.5 cups powdered sugar

Directions

Preheat the oven to 350˚F and line the bottom of a 9-inch round cake pan with parchment, Grease the sides of the pan and the parchment.

Sift together the flour, baking soda, salt, and spices.

In a stand mixer or by hand, beat together the oil and sugars, then beat in the applesauce, vanilla, and eggs until well combined. Stir in the grated carrots.

Add the dry ingredients to the wet, and mix until just combined. Add the raisins, if using, and stir until evenly distributed.

Pour the batter into the prepared pan and bake for 30-35 minutes, until a toothpick inserted in the middle comes out clean. Allow to cool for 5-10 minutes, then invert onto a rack to cool completely while you prepare the frosting.

To make the frosting, beat the cream cheese and butter in a stand mixer with the paddle attachment until light and fluffy, a couple minutes. Add the vanilla extract and beat for another 10-20 seconds. Gradually add the powdered sugar with the mixer on low, until you achieve the desired consistency for your frosting.

Frost a completely cooled cake with whatever decorations you fancy!

Enjoy!

Print

IMG_2032D

Some nice spring flowers along with a nice spring cake!


Almond Cake with Chocolate Buttercream Frosting

We’ve had a couple birthdays in the family recently, and so I’ve been trying out some new cake recipes. Last week I made Beatty’s Chocolate Cake by Ina Garten, which was delicious! This past weekend, I made this Fluffy and Nutty Almond Layer Cake, except that I only made one layer, and I used this 5-Minute Chocolate Buttercream Frosting recipe for both cakes, instead of the frosting that was in each respective cake recipe. I scaled down the almond cake recipe to 1/3 of a recipe, to make just one 8-inch round cake, and I was pleasantly surprised by the results! I used a scale to weigh out my ingredients, especially since I was reducing the amount.

This cake has a lovely almond flavor, and a tender and light but still moist crumb. I experimented with some chocolate flowers on the top, with limited success since the plastic bag I was using as a piping bag did not get along very well with my frosting tips… But appearances aren’t everything luckily, and this cake was delicious! This frosting is also super easy to make with an electric mixer, and full of wonderful chocolate flavor. Here’s my scaled-down recipe:

Almond Cake with Chocolate Buttercream Frosting

Adapted from Serious Eats

Makes one 8-inch layer cake

Ingredients

3 3/4 oz all-purpose flour

2 oz almond meal

5 oz granulated sugar

1 1/3 tsp baking powder

1/2 tsp salt

1/3 cup unsalted butter, softened

1 egg, room temperature

1 tsp vanilla extract

1 tsp almond extract

5 oz plain soymilk (or whole milk), room temperature

One recipe of 5-Minute ChocolateButtercream Frosting (I used soymilk instead of regular whole milk)

Directions

Preheat the oven to 350˚F and grease an 8-inch round cake pan, line the bottom with greased parchment paper.

Sift together the flour and almond meal together in a bowl.

In the bowl of a stand mixer with a paddle attachment, cream together the butter, sugar, baking powder, and salt at low speed. Once combined, beat it on medium-high and whip for a couple minutes, until light and fluffy.

Add the egg, vanilla, and almond extract and combine on medium with the stand mixer.

Turn the mixer to low, then add half the flour mixture and half the milk. Beat until just combined, then add the last half of the flour mixture and milk and continue mixing until all ingredients are well-incorporated, scraping the bowl with a spatula as needed.

Fold the batter a few times with a spatula, then pour the batter into the prepared cake pan. Bake for 30-35 minutes, until the cake is puffed, very lightly brown at the edges, and a toothpick comes out clean.

Allow the cake to cool for 20-30 minutes in the pan, then loosen with a knife around the edges and invert onto a cooling rack. Allow the cake completely while you make the frosting, then spread the frosting and decorate the cake as desired.

Slice and serve. Enjoy!

Print

IMG_1500

Lemon Buttermilk Cake

Happy Daylight Savings! I definitely forgot about it until yesterday, but luckily today was the day we fall back, so I didn’t unexpectedly lose an hour. I had a lazy day today, running errands and doing housework, but it made me miss all my lazy days at home over break. Which reminded me of this wonderful lemon cake I made towards the end of my September break!

I adapted the recipe from King Arthur Flour based on my tastes and how many lemons I had. I only had two, so that’s what went in the cake! I also changed the order of mixing the ingredients, since creaming butter into a flour mixture seemed weird to me. I mixed the wet ingredients together and the dry ingredients together and them mixed them all up together with buttermilk, which is what I usually do with cakes. I’m not sure how much the order really matters but it seems to me that you might get some weird textures going on if you mix the butter into the flour before mixing it with other wet ingredients, but feel free to follow my method or the original one!

Anyway, this cake turned out wonderfully! It had a bright lemon flavor, accented by the lemon glaze brushed over the top and allowed to soak into the cake, and it was soft and fluffy, but not the slightest bit dry. This is definitely a recipe I’ll go back to if I have lemons and buttermilk to use up! Here’s the recipe I made:

Lemon Buttermilk Cake

adapted from King Arthur Flour

Makes 1 9×13 pan

Ingredients:

Cake:

2 1/2 cups all-purpose flour

1 tsp salt

2 tsp baking powder

Zest of 2 lemons

1 1/2 cups granulated sugar

10 tbsp (1 1/4 sticks) unsalted butter, softened

3 eggs

1 1/4 cups reduced-fat buttermilk

Glaze:

Juice of 2 lemons

2 tbsp granulated sugar

Directions:

Preheat the oven to 350˚F and grease a 9×13 pan (I used glass).

Sift together the flour, salt, baking powder, and lemon zest.

Cream together the butter and sugar until a smooth paste forms. Beat in the three eggs. Add the dry ingredients to the butter mixture in 2 parts, alternating with half the buttermilk after half the dry ingredients. Mix until well-combined.

Pour the batter into the greased pan. Bake for 25-30 minutes, until a toothpick inserted in the center comes out clean. Remove the cake from the oven and allow to cool for at least 5-10 minutes.

While the cake is cooling, make the lemon glaze by mixing the lemon juice and sugar in a microwave safe bowl. Microwave in 30 second intervals and stir until the sugar is dissolved in the lemon juice.

Use a toothpick to poke holes in the cake (I did them about an inch apart all over the cake) for the glaze to sink into. Brush the glaze over the cake evenly until it has all been used up and absorbed by the cake, leaving a glossy sheen on top of the cake. Allow to cool, then cut, serve, and enjoy!

Print

DSCN9478

My Favorite Coffee Cake

Happy summer everyone! I’m having a great time with my 3-day weekends during summer quarter, and summer has finally arrived in Seattle! The weather has been sunny and warm and amazing, and I’ve been exploring the I-90 corridor, Rainier National Park, and the Olympic Peninsula with my friends. I’ve also been enjoying our backyard space, and hosting lots of barbecues, which has been super fun!

For the last barbecue, I made this coffee cake, which I made a month or so ago with Shelby, and it was amazing. We had to use up some leftover sour cream from the rugelach, and so Shelby found this recipe, and it turns out to be the best coffee cake we’ve ever made. It has a huge amount of crumb topping, and the sour cream keeps the cake portion soft and delicious. I basically used the recipe from Buns in My Oven with only a couple very minor changes. Here’s the recipe!

Coffee Cake

adapted from Buns in My Oven

Makes 24 servings

Ingredients

For the cake:

2 1/2 cups all-purpose flour

1 tsp baking powder

1 tsp baking soda

1/2 tsp salt

2 tsp cinnamon

3/4 cup (1 1/2 sticks) unsalted butter, softened

1 1/2 cups granulated sugar

2 eggs

1 1/4 cups sour cream

1 tsp vanilla extract

For the crumb:

1 cup brown sugar

1/2 cup granulated sugar

2 tsp cinnamon

1/2 tsp salt

2 1/2 cups all-purpose flour

1 cup (2 sticks) unsalted butter, melted

Directions

Use the butter wrappers to grease a 9×13 glass pan and preheat the oven to 350˚F.

To make the cake, sift together the flour, baking powder, baking soda, salt, and cinnamon. In a large bowl, cream together the butter and granulated sugar, until smooth, then beat in the eggs, sour cream, and vanilla extract. Add the dry ingredients and mix until just combined. Pour into the pan.

To make the crumb, sift together the sugars, cinnamon, salt, and flour. Pour the melted butter over it and mix until it starts to come together, then mash it together with your hands. Sprinkle the crumb evenly over the cake, crumbling it into nice fat crumbs.

Bake for 50-55 minutes, until a toothpick inserted comes out clean. Cut into bars and enjoy!

Print

DSCN9102

Look at that beautiful crumb topping!

Banana Bread Crumb Cake

Hello everyone! It’s very hot here in SoCal, just in time for the start of finals week. Yay. Stress levels are running high, which means everyone is craving sugar! I’m taking a quick study break to write this post, but soon it’ll be back to the books.

I saw this banana bread crumb cake over at Cookies and Cups a while back, and I’ve been waiting to try it. I had the rookies on our ultimate frisbee team over for dinner a few weeks ago, so I made this for dessert. I mostly followed the recipe, but I cut it in half, since I didn’t need a whole 9×13 pan, and added cinnamon to the cake and the topping. I also reduced the sugar, since bananas are naturally so sweet, and I omitted the glaze, since this was already sweet enough without it.

The cake was deliciously moist, perfectly sweetened with banana flavor, and had a lovely cinnamon crumb topping. Everyone loved it, even one of the rookies who doesn’t like bananas. Here’s my recipe!

Banana Bread Crumb Cake

adapted from Cookies and Cups

Ingredients

Cake

1 cup all-purpose flour

2 tsp cinnamon

1 1/2 tsp baking powder

1/2 tsp salt

2 overripe bananas, mashed

1/4 cup (1/2 stick) unsalted butter, softened

1/2 cup granulated sugar

1 egg

1/2 cup skim milk

1 tsp vanilla extract

Crumb topping

1 stick cold unsalted butter, cubed

1 cup brown sugar

1 cup all-purpose flour

1 tsp cinnamon

Directions

Preheat the oven to 350˚F and grease an 8×8 pan.

Sift together the flour, baking powder, salt, and cinnamon.

In a separate bowl, mash the bananas, then cream in the butter and sugar until smooth. Beat in the egg, milk, and vanilla. Add the dry ingredients and fold together until just combined. Pour into prepared pan.

For the crumb topping, mix together the sugar, flour, and cinnamon. Cut in the butter with a pastry blender, two knives, or your fingers (my preferred method) until it comes together to form large crumbs. Sprinkle the crumb topping over the batter. Bake for 30-40 minutes, until a toothpick inserted in the center comes out almost clean, with a few moist crumbs. Allow to cool before slicing into bars. Enjoy!

Print

DSCN4515

DSCN4517

A perfectly moist cake with a delicate crumb on top! Yum!

Pumpkin Chocolate Chip Coffee Cake

Happy Sunday! It’s raining and a little gloomy here in LA, but never fear, this coffee cake is the perfect rainy day treat for a day like today! Shelby and I made this over winter break, adapted from Two Peas and Their Pod, and we loved it. The cake part is soft, fluffy, and moist, and the streusel is sweet, crispy, and delicious.

We decided to take the chocolate chips out of the cake, but leave them in the streusel, but it really could go either way. We agreed that we made the right choice leaving the chocolate chips out of the cake itself, since it would have overwhelmed the pumpkin flavor. I may make this again and leave the chocolate chips out altogether, since the cake was so delicious! There was just the right amount of pumpkin and spice (as usual, we upped the spices), and the textures of the soft cake and the crispy streusel made for a delicious combination in every bite. The chocolate chips added a little extra pop of flavor, but if you’re not one who likes combining pumpkin and chocolate, then feel free to leave them out. I personally love pumpkin and chocolate (hence my favorite pumpkin chocolate chip cookies, and more pumpkin chocolate chip cookies), but even I admit that this cake would be amazing without the chocolate.

Pumpkin Chocolate Chip Coffee Cake

adapted from Two Peas and Their Pod

Ingredients

Cake:

2 cups all-purpose flour

2 tsp cinnamon

1/2 tsp nutmeg

1/2 tsp cloves

1/2 tsp allspice

1/2 tsp ginger

2 tsp baking soda

1/2 tsp salt

1 cup (2 sticks) unsalted butter, softened

3/4 cup granulated sugar

3/4 cup brown sugar

1 egg

2 tsp vanilla extract

Half a 15oz can pumpkin puree (about a heaping 3/4 cup)

Topping:

For the streusel:

2/3 cup all-purpose flour

1/2 cup brown sugar

1/2 tsp cinnamon

6 tbsp unsalted butter, cold

1/2 cup semi-sweet chocolate chips

Directions

Preheat the oven to 350˚F and grease a 9×13 pan.

Sift together the flour, spices, baking soda, and salt.

In a large bowl, cream together the butter and sugars. Beat in the egg, vanilla, and pumpkin until light and fluffy. Slowly add the dry ingredients to the wet, mixing until just combined. Spread the batter evenly in the prepared pan.

In a small bowl, mix together the flour and sugars. Cut in the butter with a pastry blender, knives, or your fingers (I find this the easiest), until soft crumbs form. Sprinkle evenly over the batter, then sprinkle chocolate chips evenly over the streusel.

Bake for 25-30 minutes, until a toothpick inserted in the center comes out clean. Allow to cool, then cut into bars. Enjoy!

Print

DSCN4351

Warm pan of pumpkin chocolate goodness!

DSCN4359

Mmmm, look at that lovely soft cake crumb!

DSCN4362

Complete with crispy streusel topping and melty chocolate chips 🙂

Candy Cane Peppermint Chocolate Cake

Happy Holidays everyone! Hope every is having a good winter break, or at least a good couple weeks of winter holidays. It’s a little colder here in the bay than in LA, which is surprisingly a welcome break from the monotony of the warm SoCal weather. Don’t get me wrong, I love being able to wear shorts year round, but it is a little nice to break out those cozy winter sweaters that have been crammed into my bottom drawer all year. Although I’m sure in a week I’ll be ready to go back to sunny SoCal, but I’ll enjoy the chilliness while I’m here.

Anyway, I was in charge of making Christmas dinner this year, which was quite fun. I made sweet potato gnocchi, cheddar cheese bread, and a dish with brussels sprouts, butternut squash, and caramelized onions with goat cheese that one of my roommates made for Thanksgiving. It was delicious, so I tried to replicate it for this dinner, and it turned out pretty well. However, what’s a Christmas dinner without dessert? Not much of one, obviously. My family loves chocolate, and winter holidays scream mint chocolate to me, so I decided to make this candy cane cake from Eat Live Run, with a few small modifications.

The result was a dense, fudgey cake, which a luscious chocolate ganache coating with crisp peppermint shards for garnish, and a lovely mint flavor throughout the cake and the ganache. I even made this in the toaster oven, to minimize energy usage, so that was a nice bonus, since it’s made in a loaf pan. I will say this was not the most moist cake I’ve ever made, but it was pretty delicious, and I love anything with chocolate mint, so I was pretty jazzed about it. It’s also possible I baked it a few minutes too long, which is why it was a little more dried out than I would like. Anyway, you can try it for yourself, here’s the recipe!

Candy Cane Peppermint Chocolate Cake

adapted from Eat Live Run

Cake

1 1/2 cups all-purpose flour

3/4 cup unsweetened cocoa powder

1/4 tsp baking soda

1/2 tsp baking powder

1/2 tsp salt

1/2 cup (1 stick) unsalted butter, softened

3/4 cup brown sugar

1/2 cup granulated sugar

1 egg

2 tsp peppermint extract

1 cup reduced-fat buttermilk

Ganache

1 cup bittersweet chocolate (or chocolate chips, but non-chip form will give you a smoother ganache)

1/3 cup heavy whipping cream

1 tsp peppermint extract

2 candy canes, crushed

Directions

Preheat the oven to 325˚F and grease and flour a 9×5 loaf pan.

Sift together the flour, cocoa powder, baking soda, baking powder, and salt.

In a larger bowl, cream together the butter and sugars until smooth. Beat in the egg and peppermint extract until light and fluffy. Slowly add the dry ingredients to the wet alternately with the buttermilk and mix with a spatula until just combined. Do not overmix!

Pour the batter into the prepared loaf pan and bake for 50-55 minutes, turning halfway through. Once a toothpick inserted comes out clean or with a few moist crumbs, remove from oven and allow to cool in pan for 15-20 minutes. Loosen with a spatula then invert the cake out of the pan and place it on a plate or rack to cool completely, an hour or so.

Once the cake is cooled, prepare the ganache by bringing the cream to a simmer over low heat. Remove from heat and immediately add the chocolate, then stir until smooth. Add the peppermint extract and stir until well combined. Pour the ganache over the cake and spread into a smooth layer over the top and sides.

Crush the candy canes in a plastic bag with a meat mallet or with a rolling pin, then sprinkle over the cake. Allow to cool, so the ganache hardens into a thicker consistency. Slice and enjoy!

Print


Blueberry Crumb Cake

Let the rain fall down! And by rain, I mean drizzle. I hate rain, but at this point, I’m actually happy for any moisture coming from the sky. Also, I had this blueberry crumb cake waiting for me when I got home to look forward to, so I didn’t mind the gray skies one bit.

This is a new recipe on Smitten Kitchen, and when I saw the post pop up on my Facebook news feed, I bookmarked it immediately. Then made it a few days later. Oh my goodness. I’m so glad I tried this recipe out, because it is amazing! Probably my favorite blueberry dessert I’ve made so far, although those Blueberry Pie Bars come in a close second. Also, this recipe uses no fancy ingredients, like cake flour or shortening,, which is a huge plus in my book.

Let me tell you a bit about this cake. The cake part is dense, and moist, and just sweet enough, with plenty of juicy bursts from the fresh blueberries and a hint of fresh lemon flavor from the zest. The crumb topping, while a fairly thin layer, is amazing. It’s the perfect texture, crisp and sweet, and has a nice spice to it from the cinnamon. This cake really does get better with time, since I’ve had it a couple days and it’s just as moist, or even more so, than the day I baked it. This recipe is a keeper! I plan to adapt it with different flavors for future coffee cakes.

Head on over to Smitten Kitchen for the recipe!

Peppermint Chocolate Cake (Eggless) with Peppermint Icing

Who needs to study when you can eat instead? That pretty much sums up my weekend so far. Clearly I’m feeling very productive right now.

In other news, my last roommate turned 21 on Tuesday! To celebrate, I made this cake! I modified this recipe from Instructables, which happened to be vegan. Since I don’t keep eggs on hand, this seemed like the perfect recipe to whip up on short notice. I also had about half a gallon of milk that was going to expire later in the week, so I swapped out the water for milk. If you want to keep this cake vegan, then just use the water called for in the original recipe. I’m not sure how much of a difference it makes, I drink fat-free milk, so it may have made the cake slightly richer, but probably didn’t make a huge difference.

The original cake is just plain chocolate, but I love chocolate mint, and I wanted to add a little extra something to it, so I added some peppermint extract into the batter and made a refreshing peppermint icing to top the cake with. It turned out wonderfully, with a hint of mint in every bite! I’m not a huge cake person, since cakes tend to be dry and not dense enough for my taste, but recently, I’ve had pretty good luck with finding great cake recipes that I actually enjoy! This cake is dense, moist, and quite chocolate-y, and it was enjoyed by my roommates and I and several of our teammates who dropped by to celebrate (and eat cake). This is a cake that I will definitely make again in the future, with perhaps some other flavor variations. It was so easy to make, and the whole process of making it, baking it, letting it cool, and icing it, probably took just a little over an hour, so as far as cakes go, this one is super quick and easy! Here’s the recipe!

Peppermint Chocolate Cake with Peppermint Icing

adapted from Instructables

Makes 1 8×8 cake

Ingredients

Cake

1 1/4 cup all-purpose flour

1/3 cup unsweetened cocoa powder

1 cup granulated sugar

1 tsp baking soda

1/2 tsp salt

1 tsp vanilla extract

1 tsp peppermint extract

1 cup warm milk (I used fat-free, warmed in the microwave for about 50 seconds)

1 tsp distilled white vinegar

1/3 cup vegetable oil

Icing

2-2 1/2 cups powdered sugar

3-4 tbsp milk, as needed for consistency

1 tsp peppermint extract

Directions

Preheat the oven to 350˚F and line an 8×8 pan with foil. Grease the foil.

Sift together the flour, sugar, cocoa, baking soda, and salt. In a separate bowl, heat the milk for 40-50 seconds in the microwave, then stir in the oil, vinegar, vanilla, and peppermint extract. Beat the wet ingredients into the dry until well combined. Pour into the prepared pan. Bake for 25-30 minutes, until a toothpick comes out clean. Don’t overbake! The cake will be set but the top may look slightly underdone. As long as the toothpick comes out clean, it’s ready. Allow to cool for 20-30 minutes.

To prepare the icing. Stir together 2 cups powdered sugar, 3 tablespoons of milk, and the peppermint extract. If it is too thick, add more milk. If it is too thin, add more powdered sugar. Spread on top of the cake. Serve the cake room temperature or chilled. Enjoy!

Print

DSCN2750

Not gonna lie, I was extremely proud (and a little surprised) at how well I flipped this cake out of the pan

DSCN2751

Spread on that peppermint icing!

DSCN2760

Sorry for the not-great pictures, but you can kind of see how wonderfully dense the interior is here!